KB Article #6966
The OEM catalog illustrations help you easily identify parts needed for the repair being performed. Additionally, use the tools provided to mark up the illustration and send it to your dealer.
Marking Up the Illustration
To mark up the illustration:
- The illustration will display with the appropriate callout highlighted.
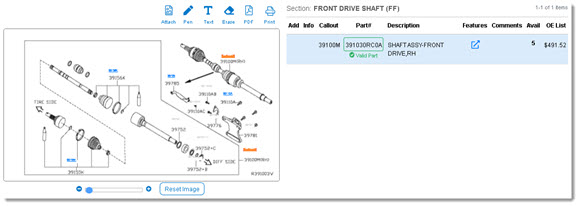
- If more than one part is under the callout (e.g. alternate parts that may fit the vehicle model), the table will show all parts belonging to that callout.
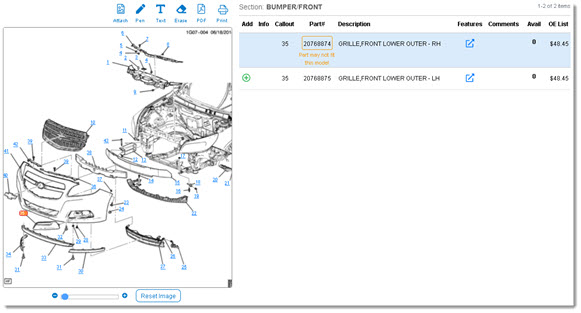
- If more than one part is under the callout (e.g. alternate parts that may fit the vehicle model), the table will show all parts belonging to that callout.
- Use the zoom feature below the illustration (or your mouse scroll wheel) to zoom into the illustration.
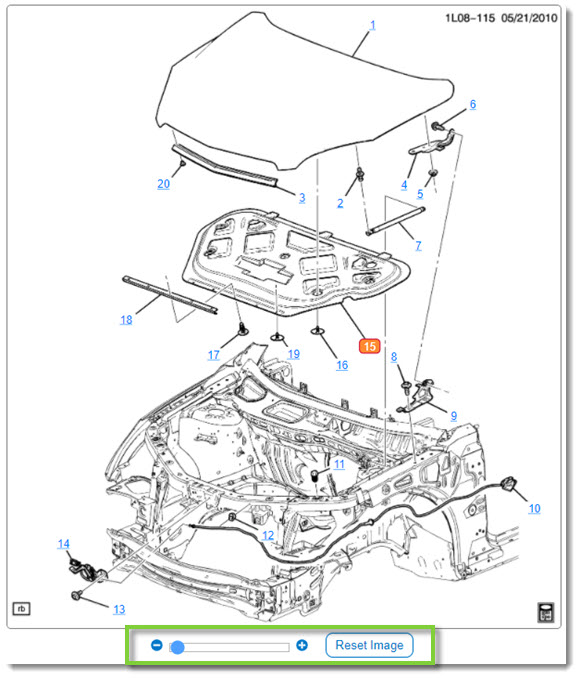
- Above the illustration, use the following tools to mark up your illustration.

- Pen: Enables you to draw on the illustration. Anything drawn will be included when you save or print the illustration. Click the Pen icon a second time to stop drawing.
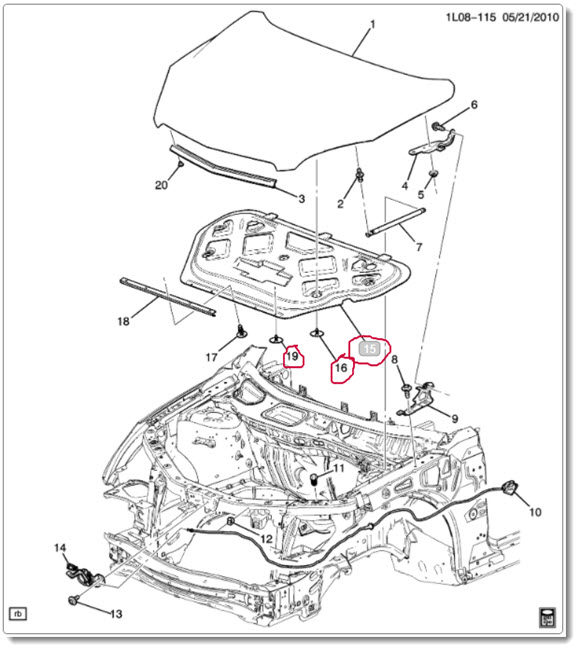
- Text: Enables you to add text to the illustration. Anything added will be included when you save or print the illustration. Click the Text icon a second time to stop typing.

- Erase: Enables you to erase any text or drawings you added.
- PDF: Saves the illustration as a PDF file to your computer.
- Print: Prints the illustration and includes either the selected part or all parts (if none were selected) in the Parts List table.
- Pen: Enables you to draw on the illustration. Anything drawn will be included when you save or print the illustration. Click the Pen icon a second time to stop drawing.
Sending the Illustration to Your Dealer
To include the illustration with your order:
- Once the illustration is marked as desired (see process above), click Attach from the top menu.

- Once attached, a success message will appear.

- Once attached, a success message will appear.
- The illustration will be added to the unsent order in the Attached Image section and included when the order is sent.
